Recently, the keyboard of my PineBookPro started to type keys by itself. It was very annoying up to the point it was impossible to type the password to unlock my session. I decided it was time to replace the keyboard.
Fortunately, the wiki provides a very detailed replacement procedure . I followed it to the letter and everything went well. I took a few pictures during the operation and have already added them to the wiki page as well.
This procedure is a bit scary : you’ll basically unmount each and every part of your PineBookPro : CPU board, daughter board, battery, speakers, touchpad, display,… It takes time, it requires a lot of patience and meticulousness, but it’s totally doable for anyone whose hands are not shaking too much!
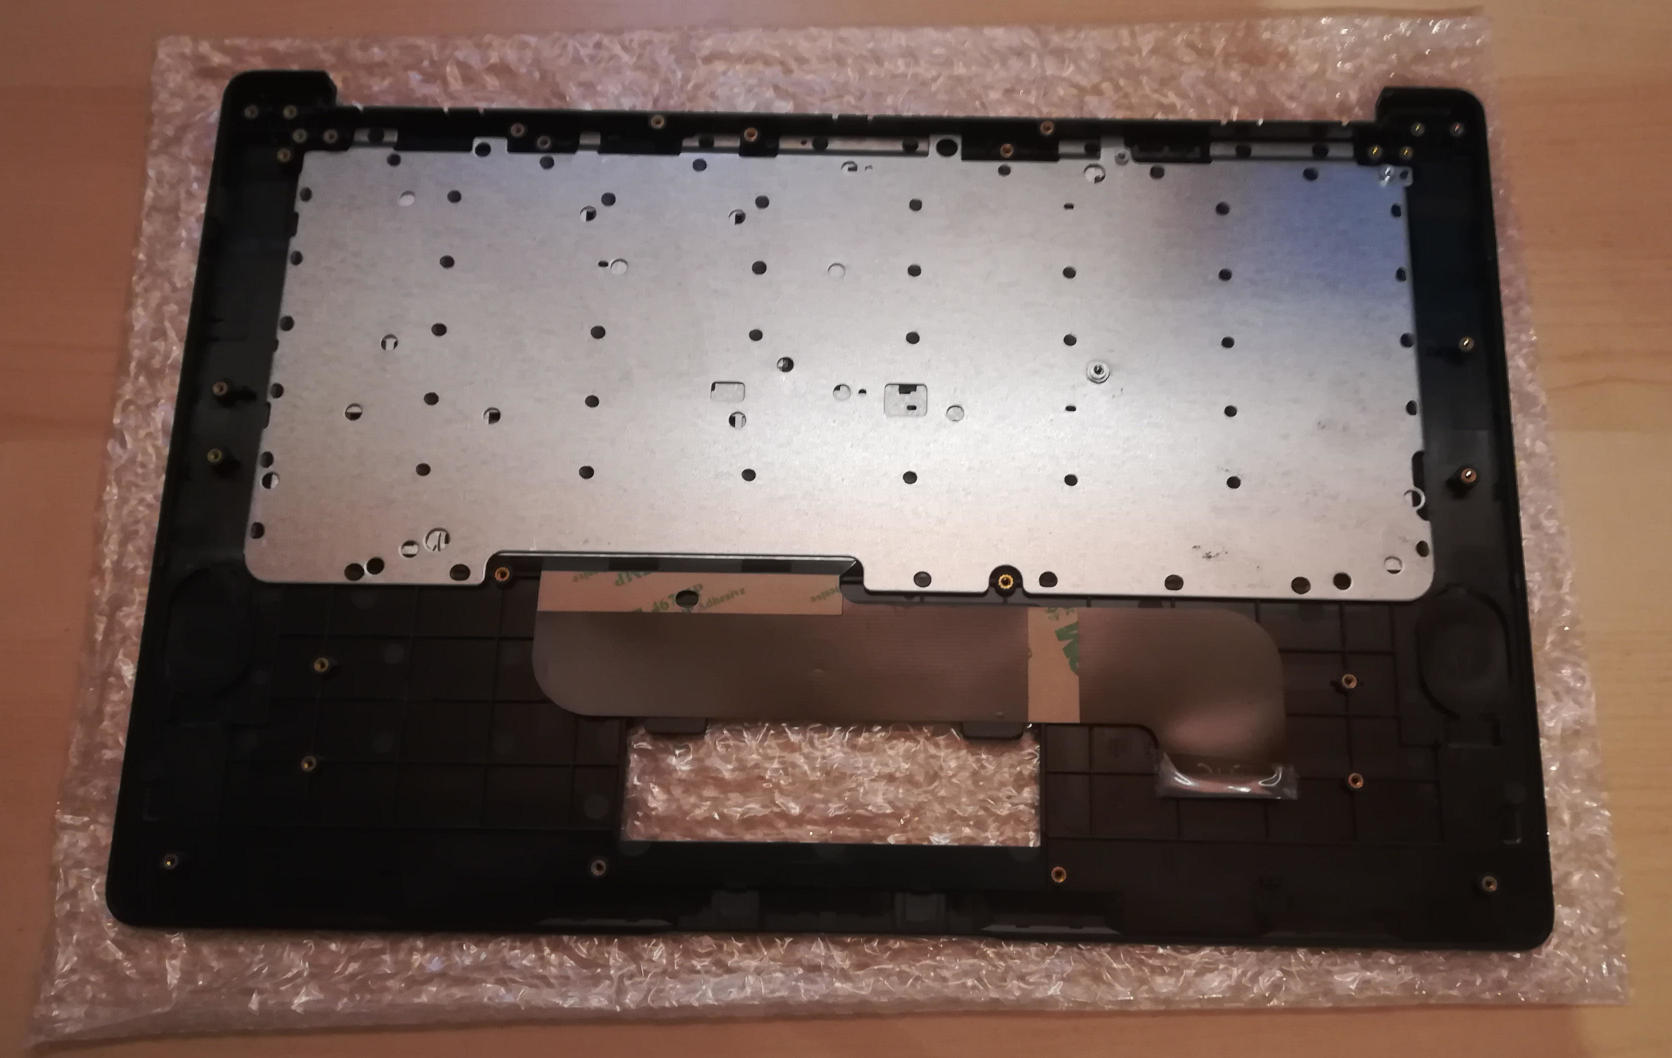
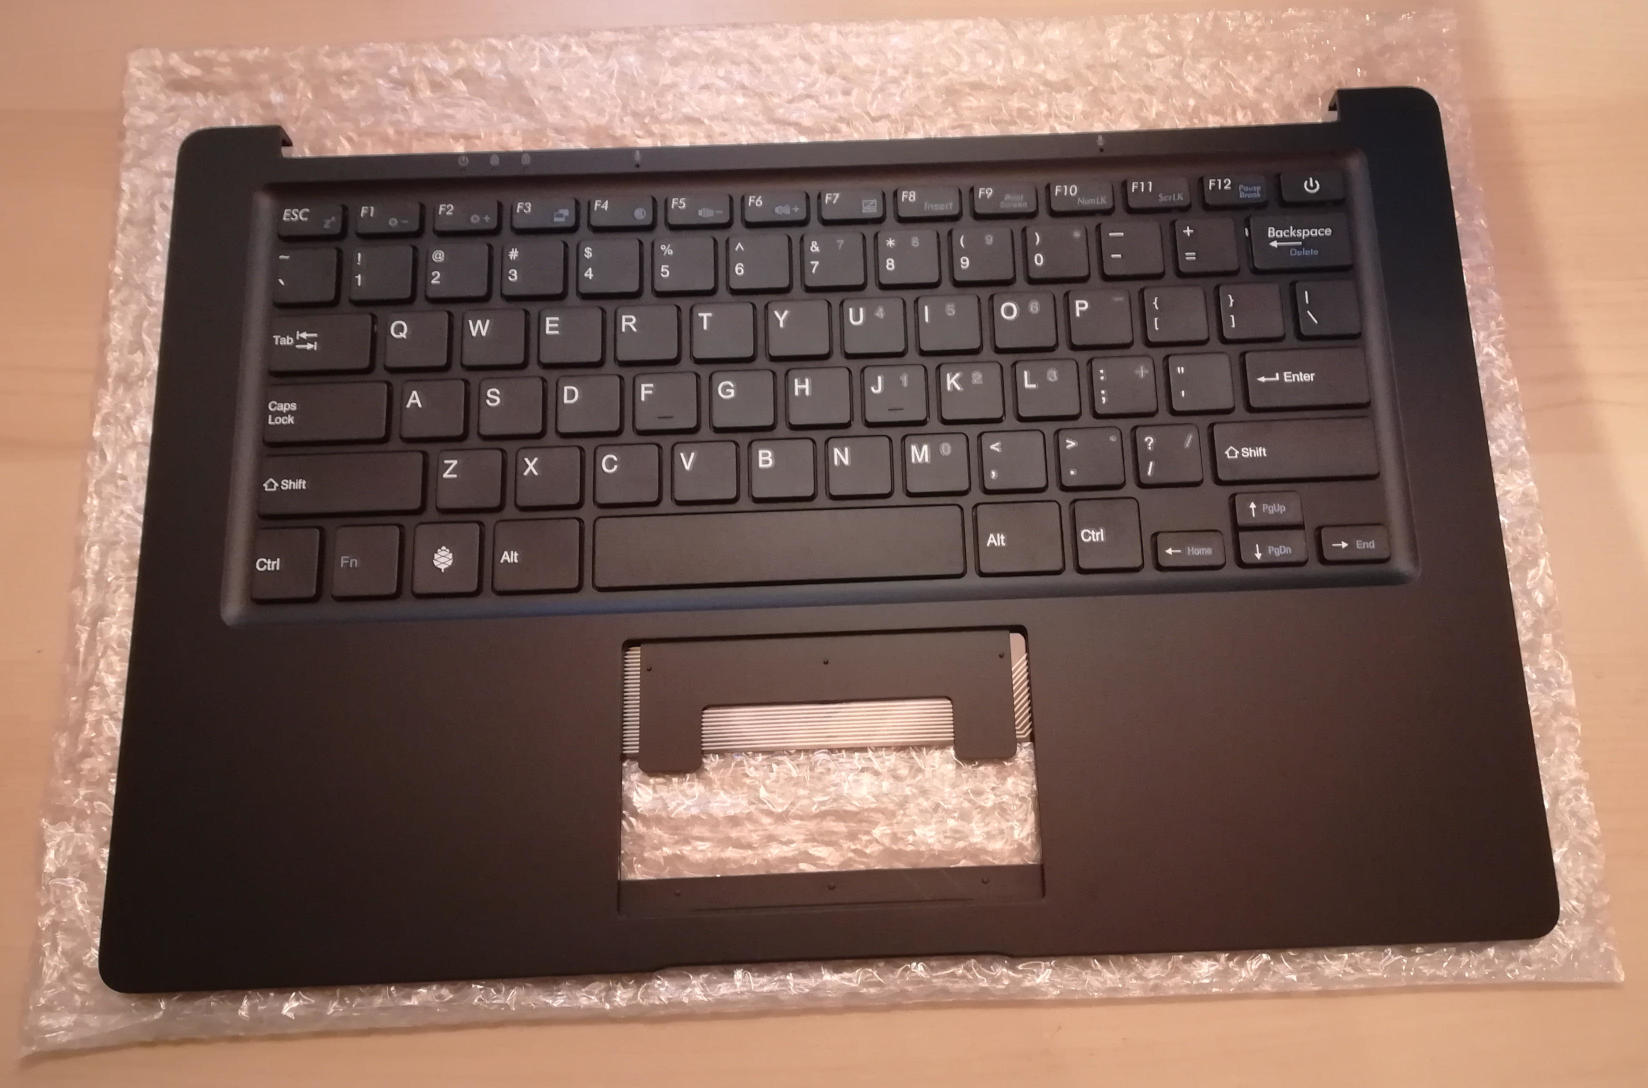
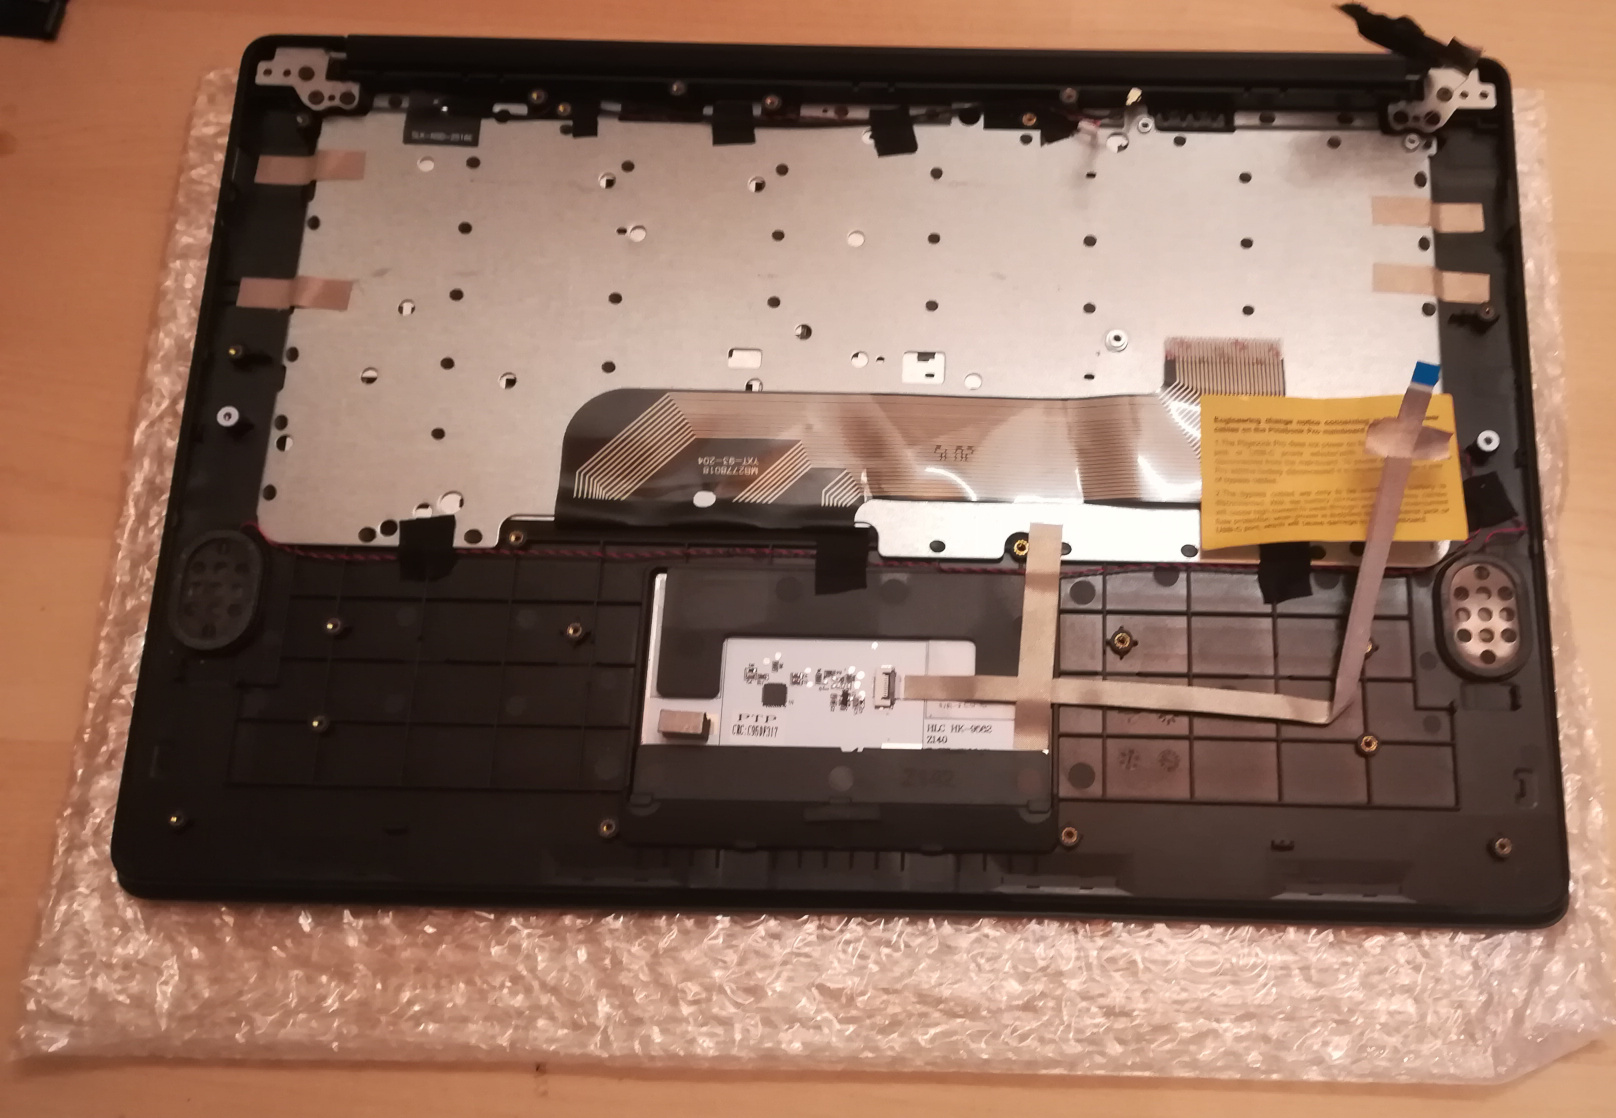
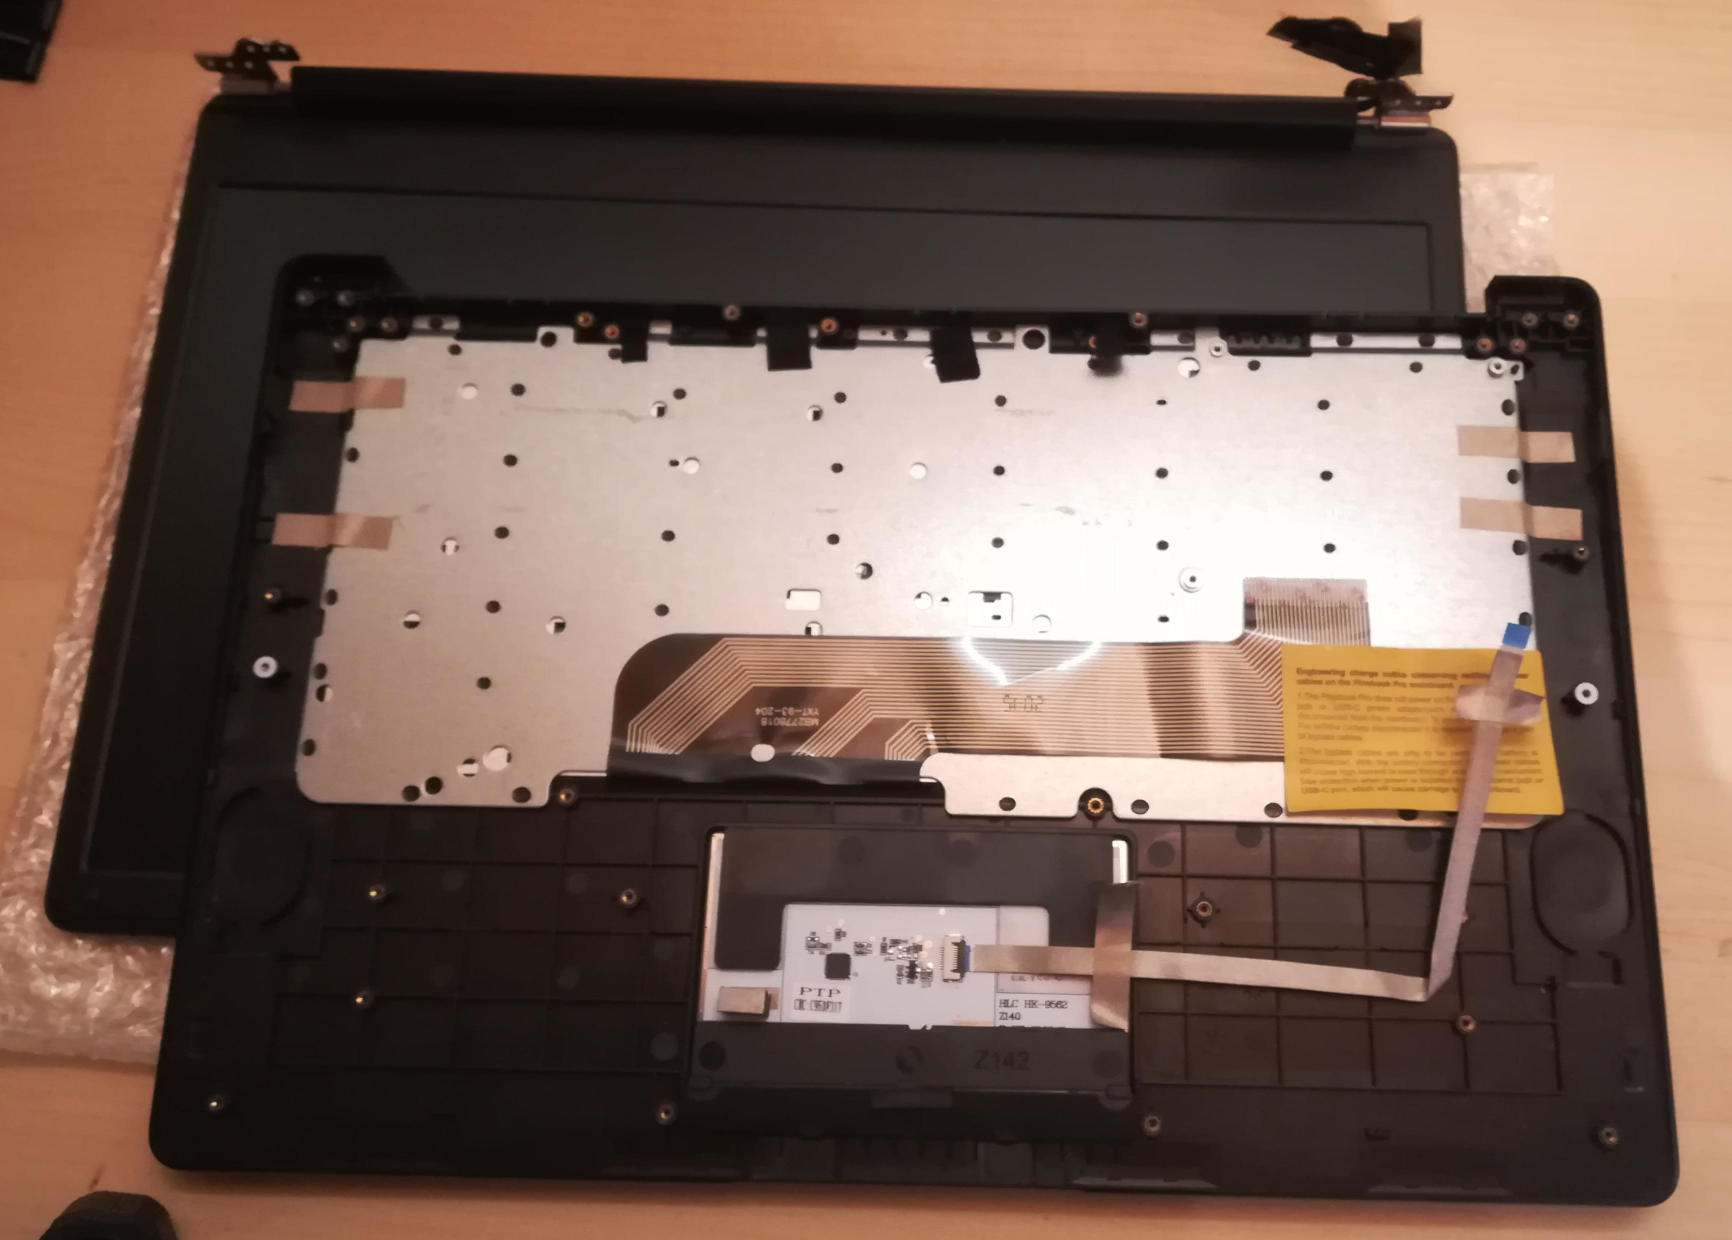
The new keyboard
Here’s what the replacement keyboard looks like:
Replacement procedure
I strongly recommend you follow the complete procedure from the wiki . I’ll add a few pictures in this post.
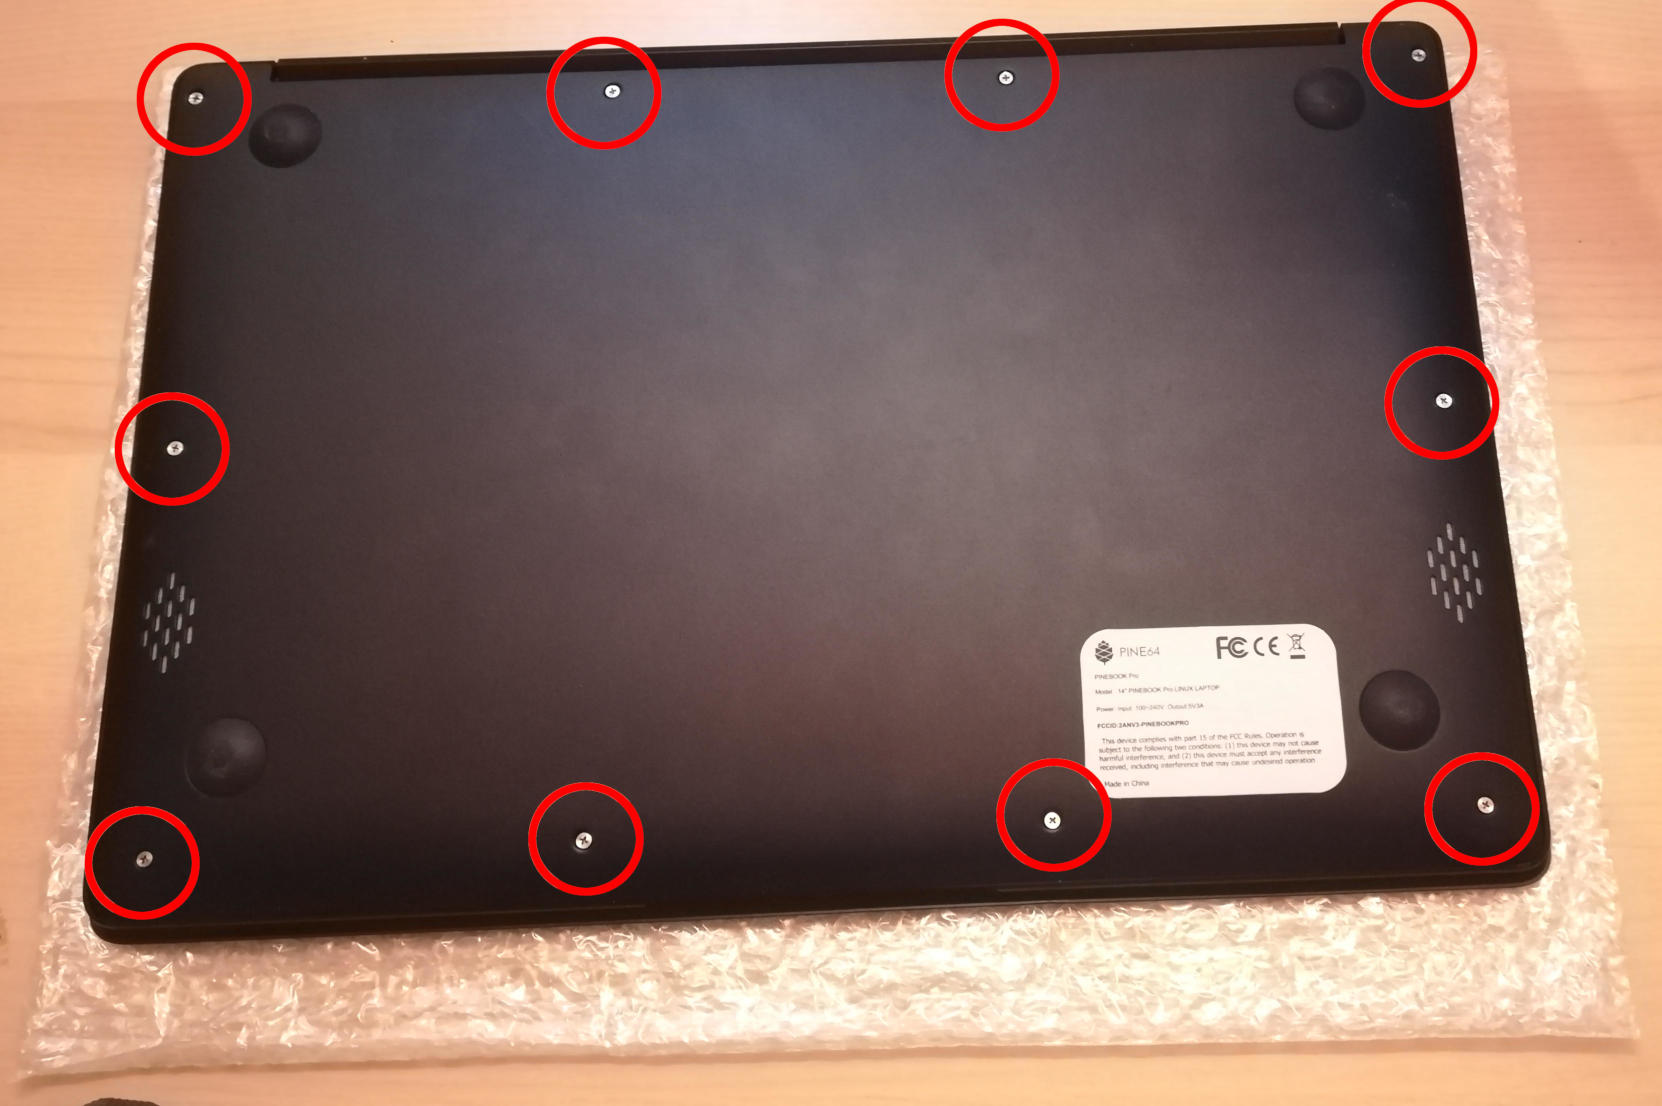
Remove the back of your PineBookPro
There are 10 screws to remove. Please note that the 4 screws on the bottom are shorter than the other ones. Keep them apart so you can replace them at their initial position!
Once the back cover is removed, you’ll be able to admire the internals of your favorite laptop.
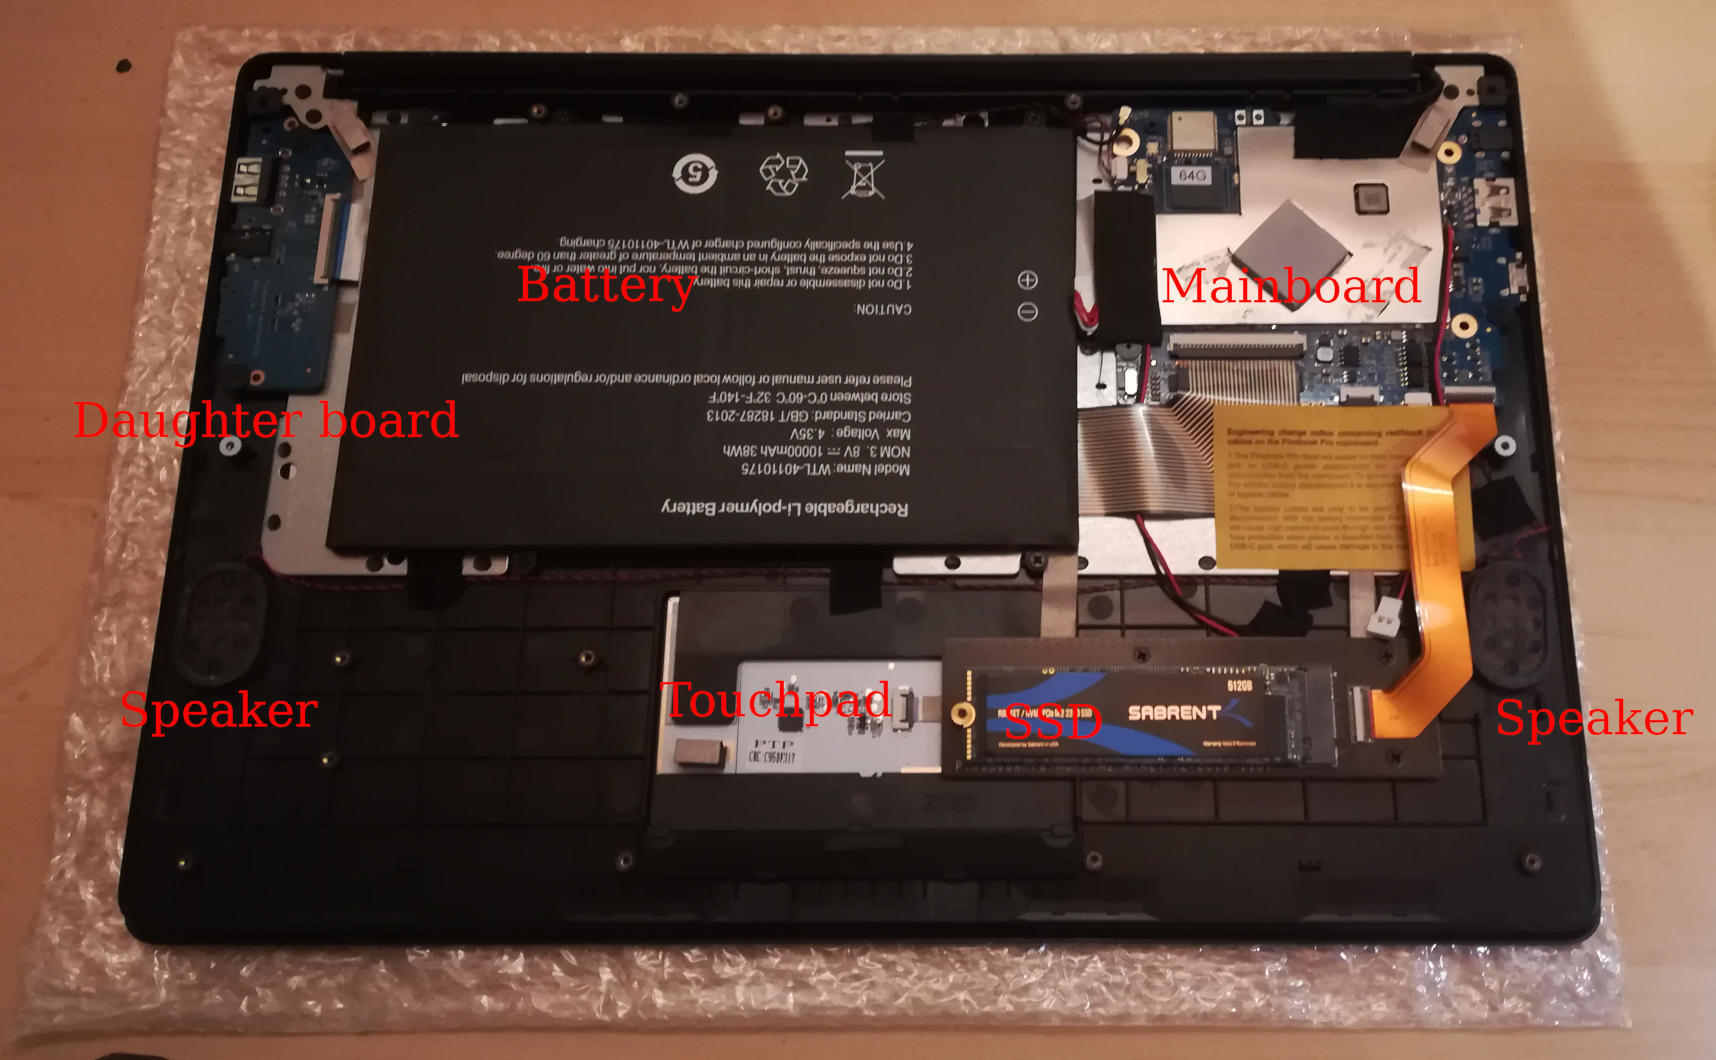
Unmount everything
All these parts (battery, CPU board, daughter board, touchpad, SSD, flex cables,…) are basically screwed and glued to the keyboard assembly. You’ll have to unmount them all!


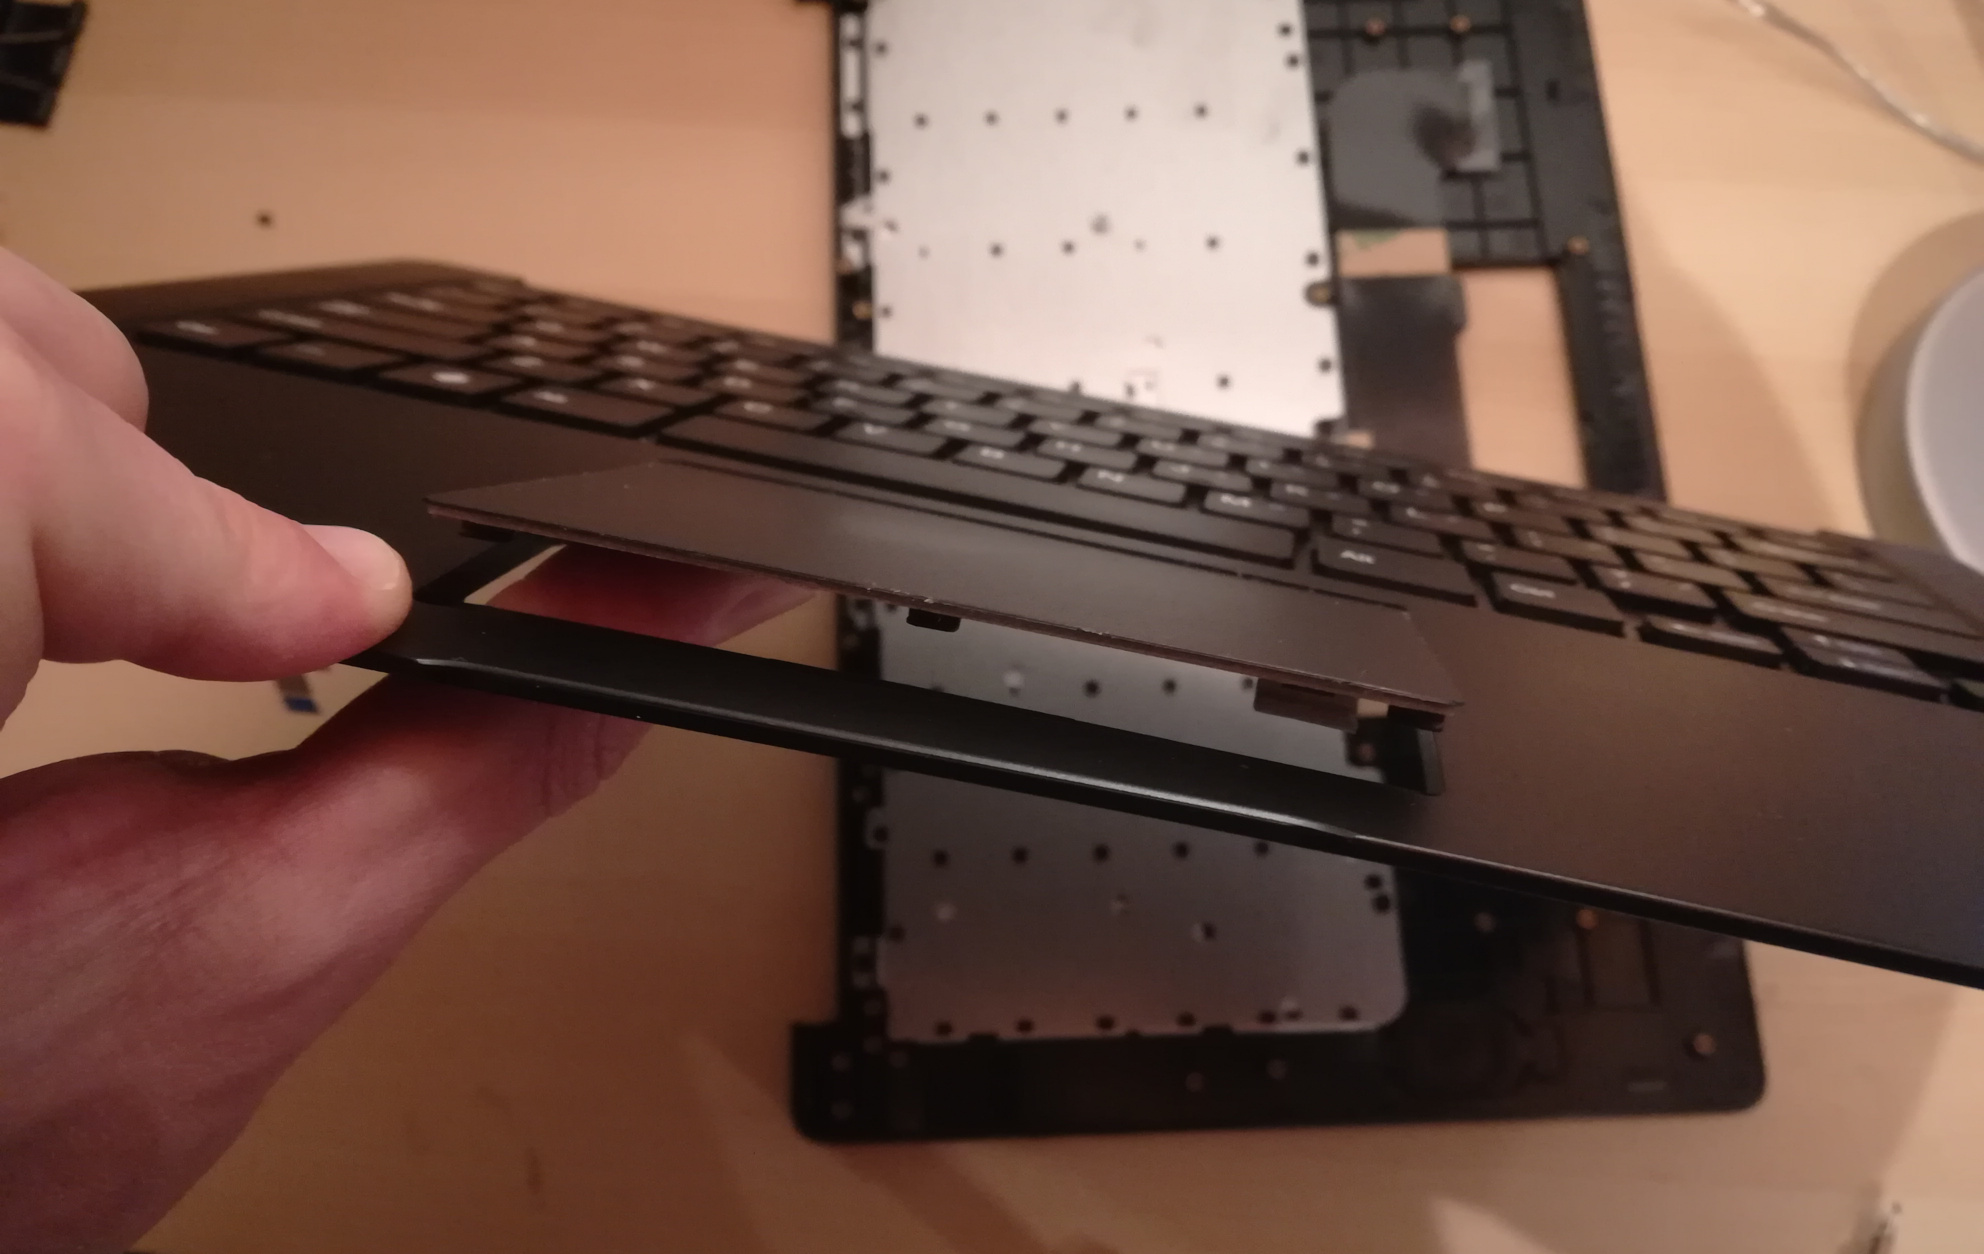
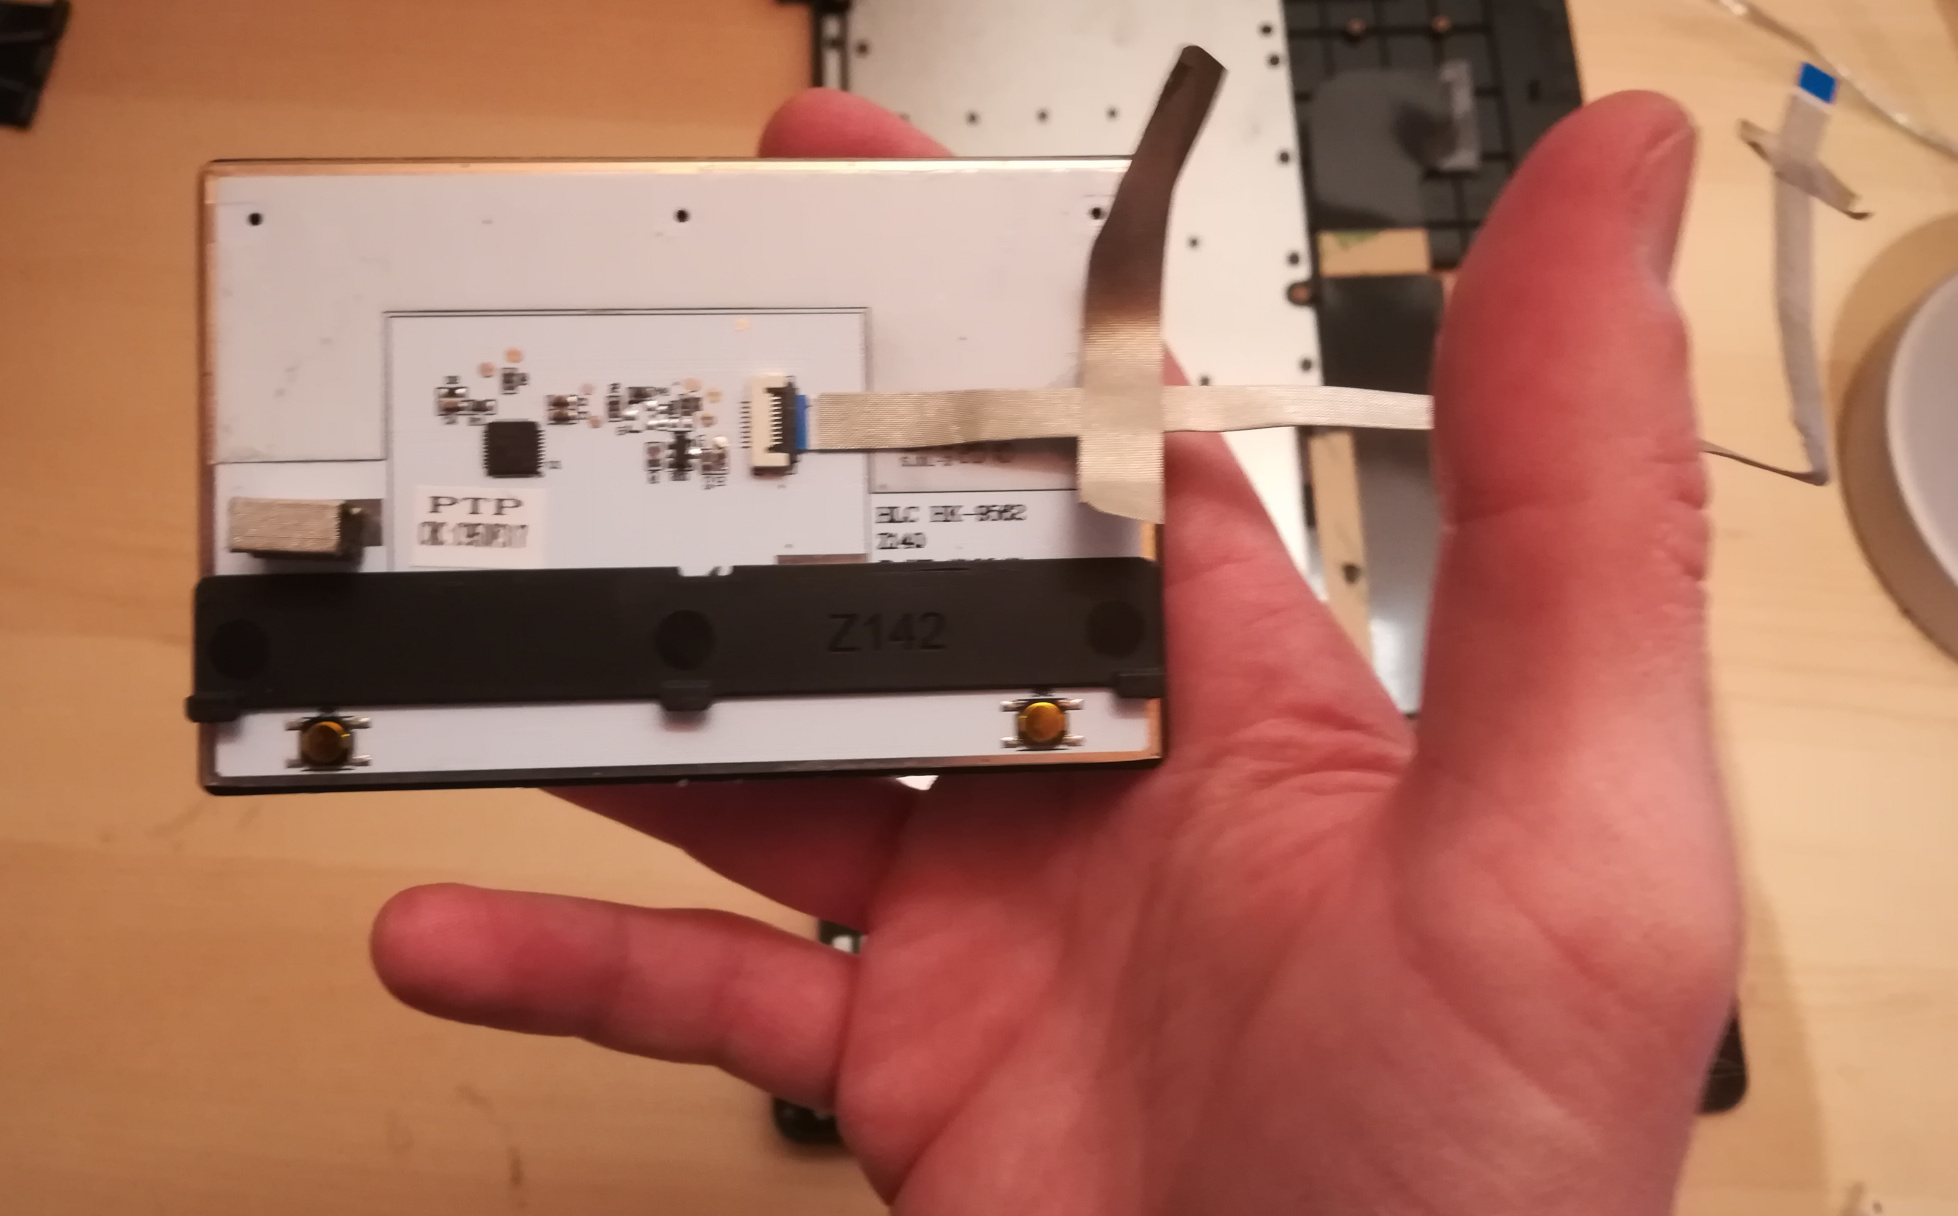
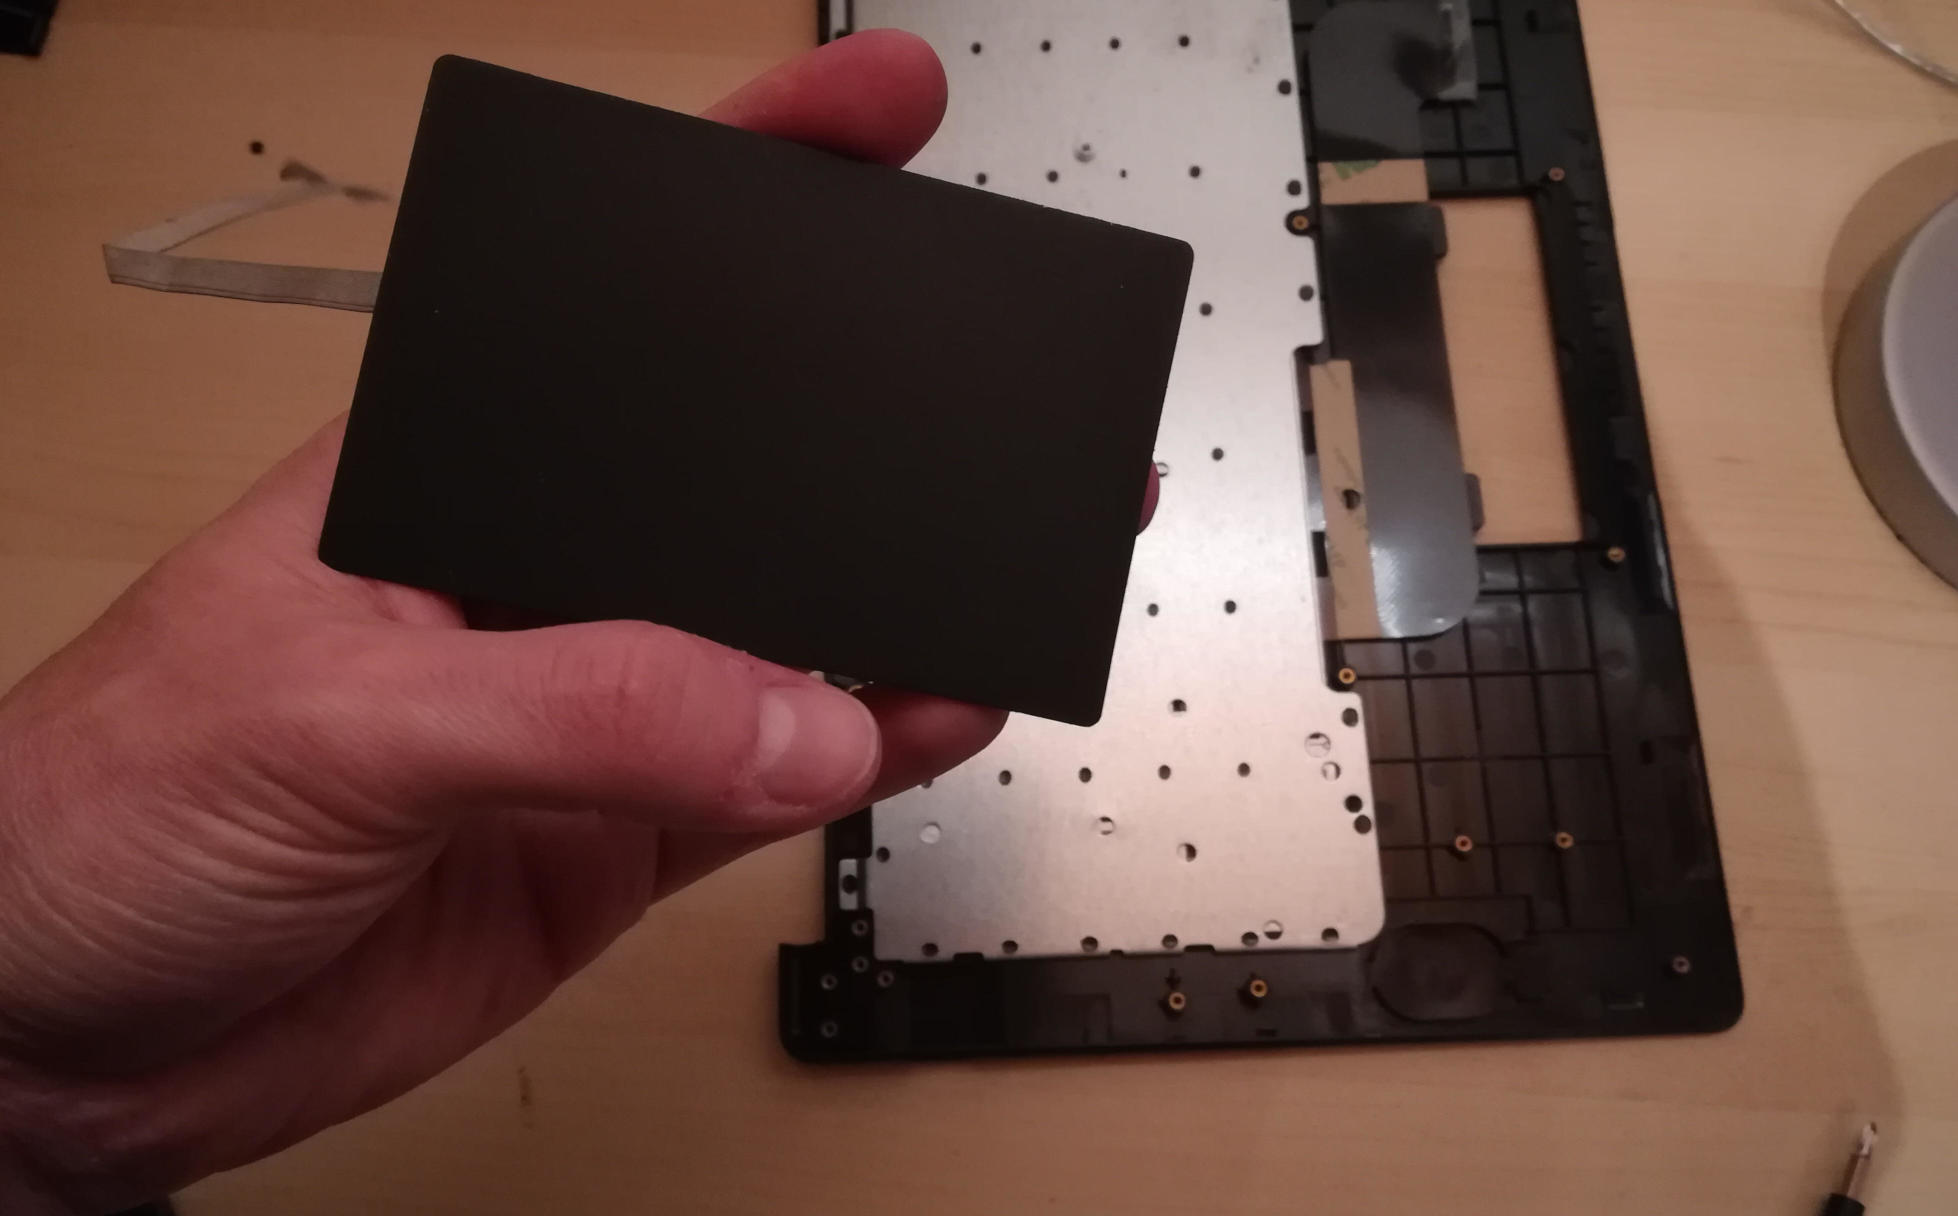
Removing the touchpad
The wiki says it’s the scariest part as the touchpad is glued to the keyboard assembly, and the only way to remove it is to apply gentle force until it detaches. It was not that hard for me to remove it but yeah… you don’t want to break your touchpad in 2 parts…
Keep yourself organized!
Now, everything should be unmounted from the keyboard assembly. Pay attention to all the boards, screws, wires and pieces you unmounted, you’ll need them later on to rebuild your PineBookPro!
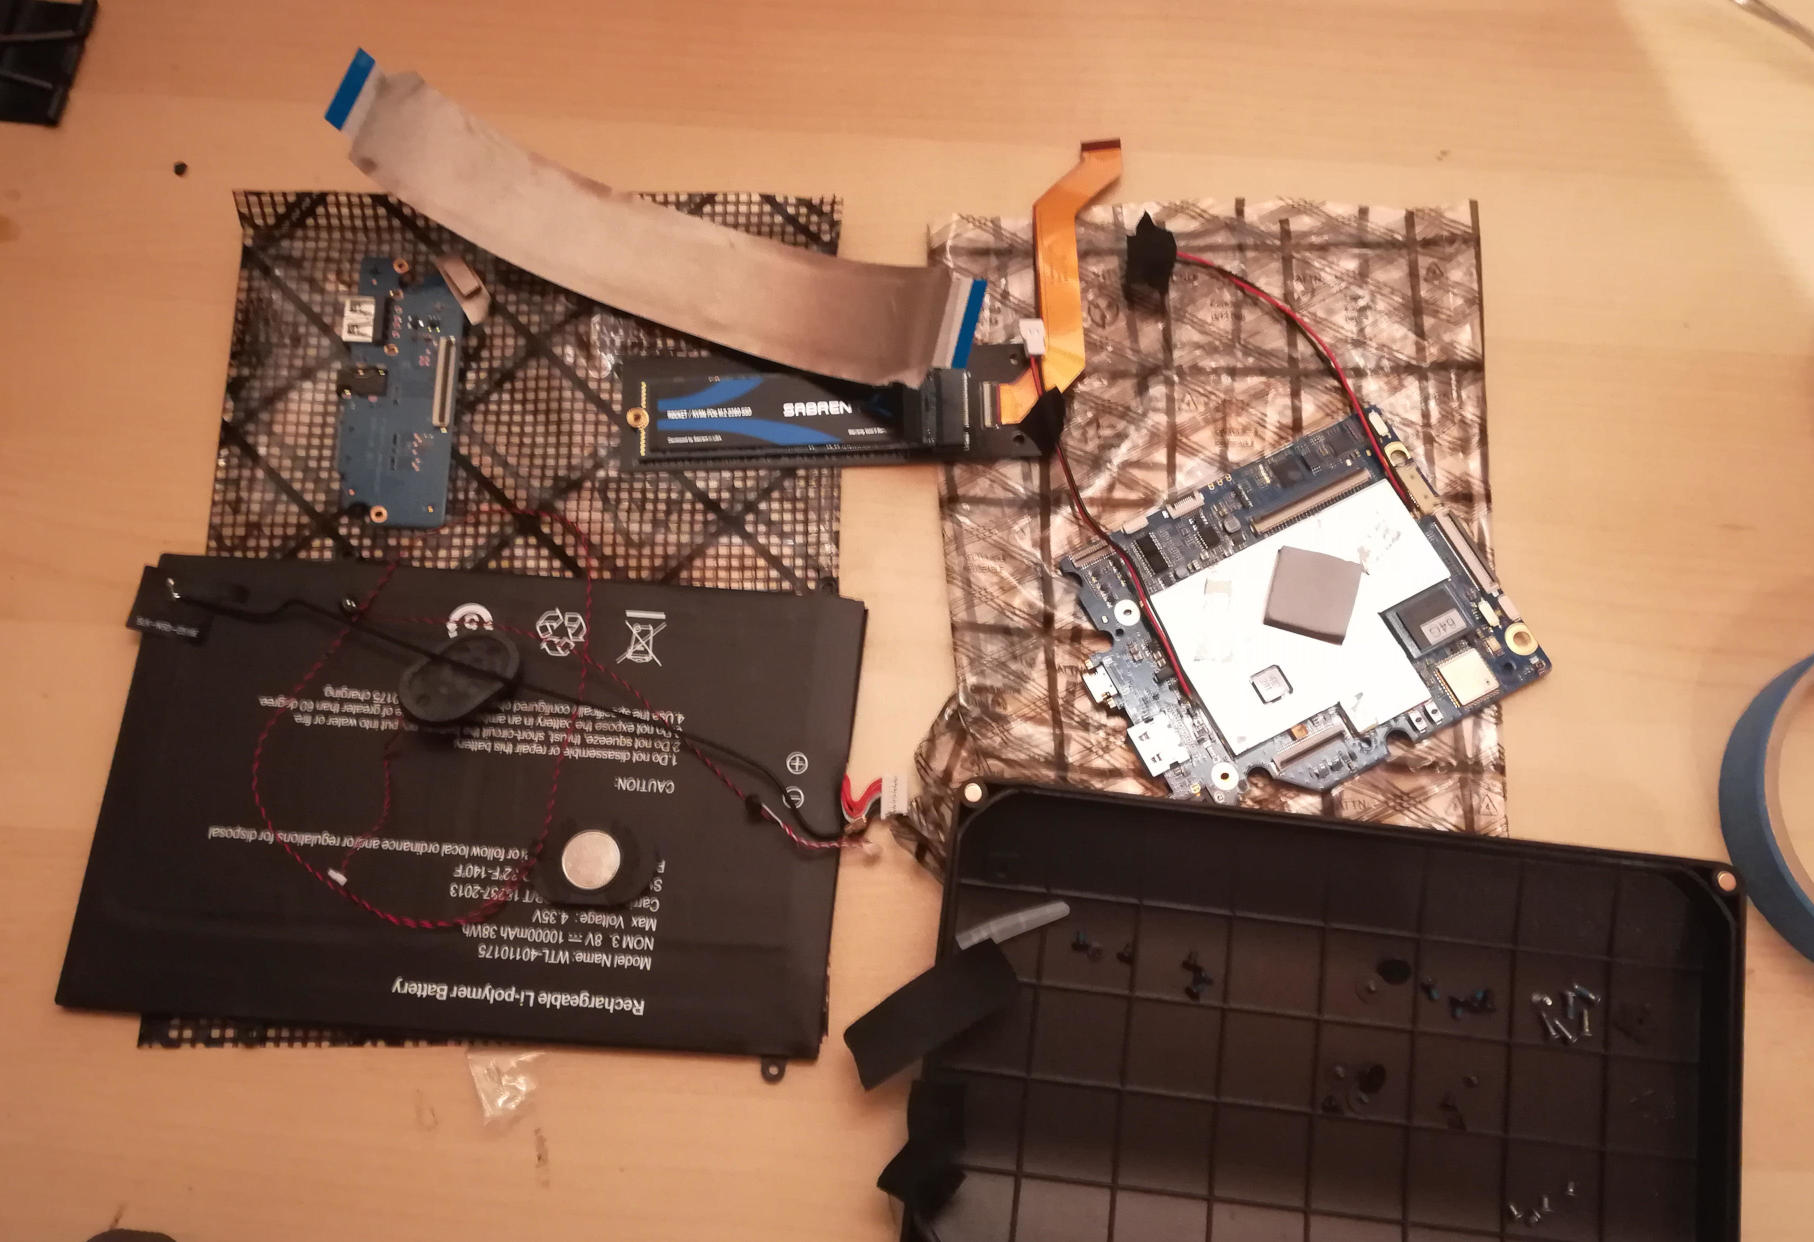
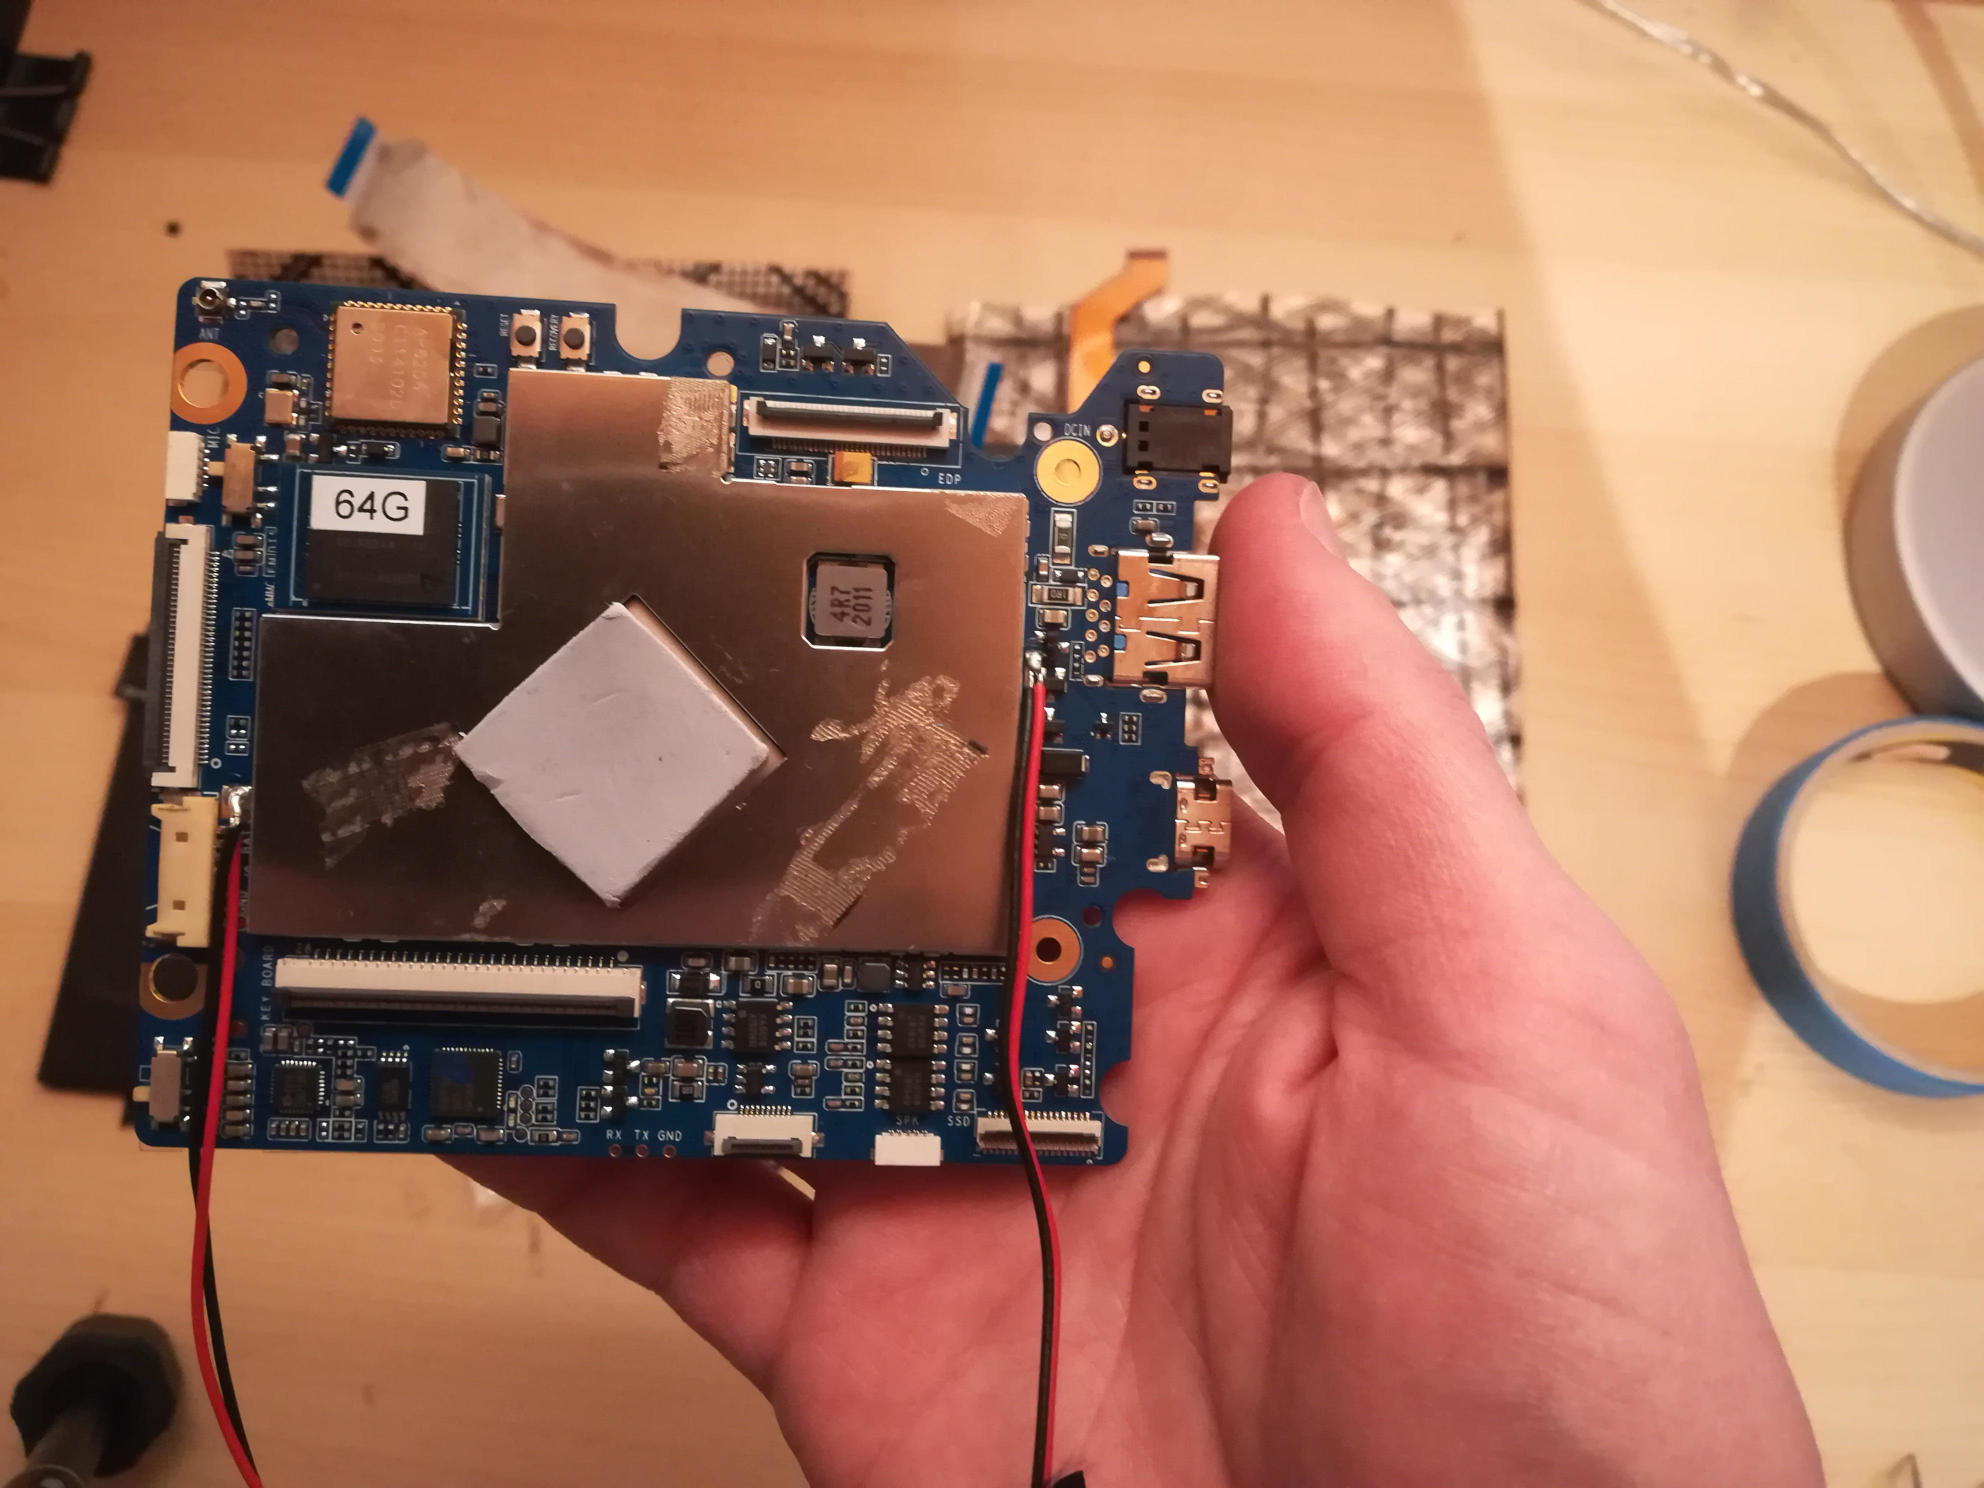
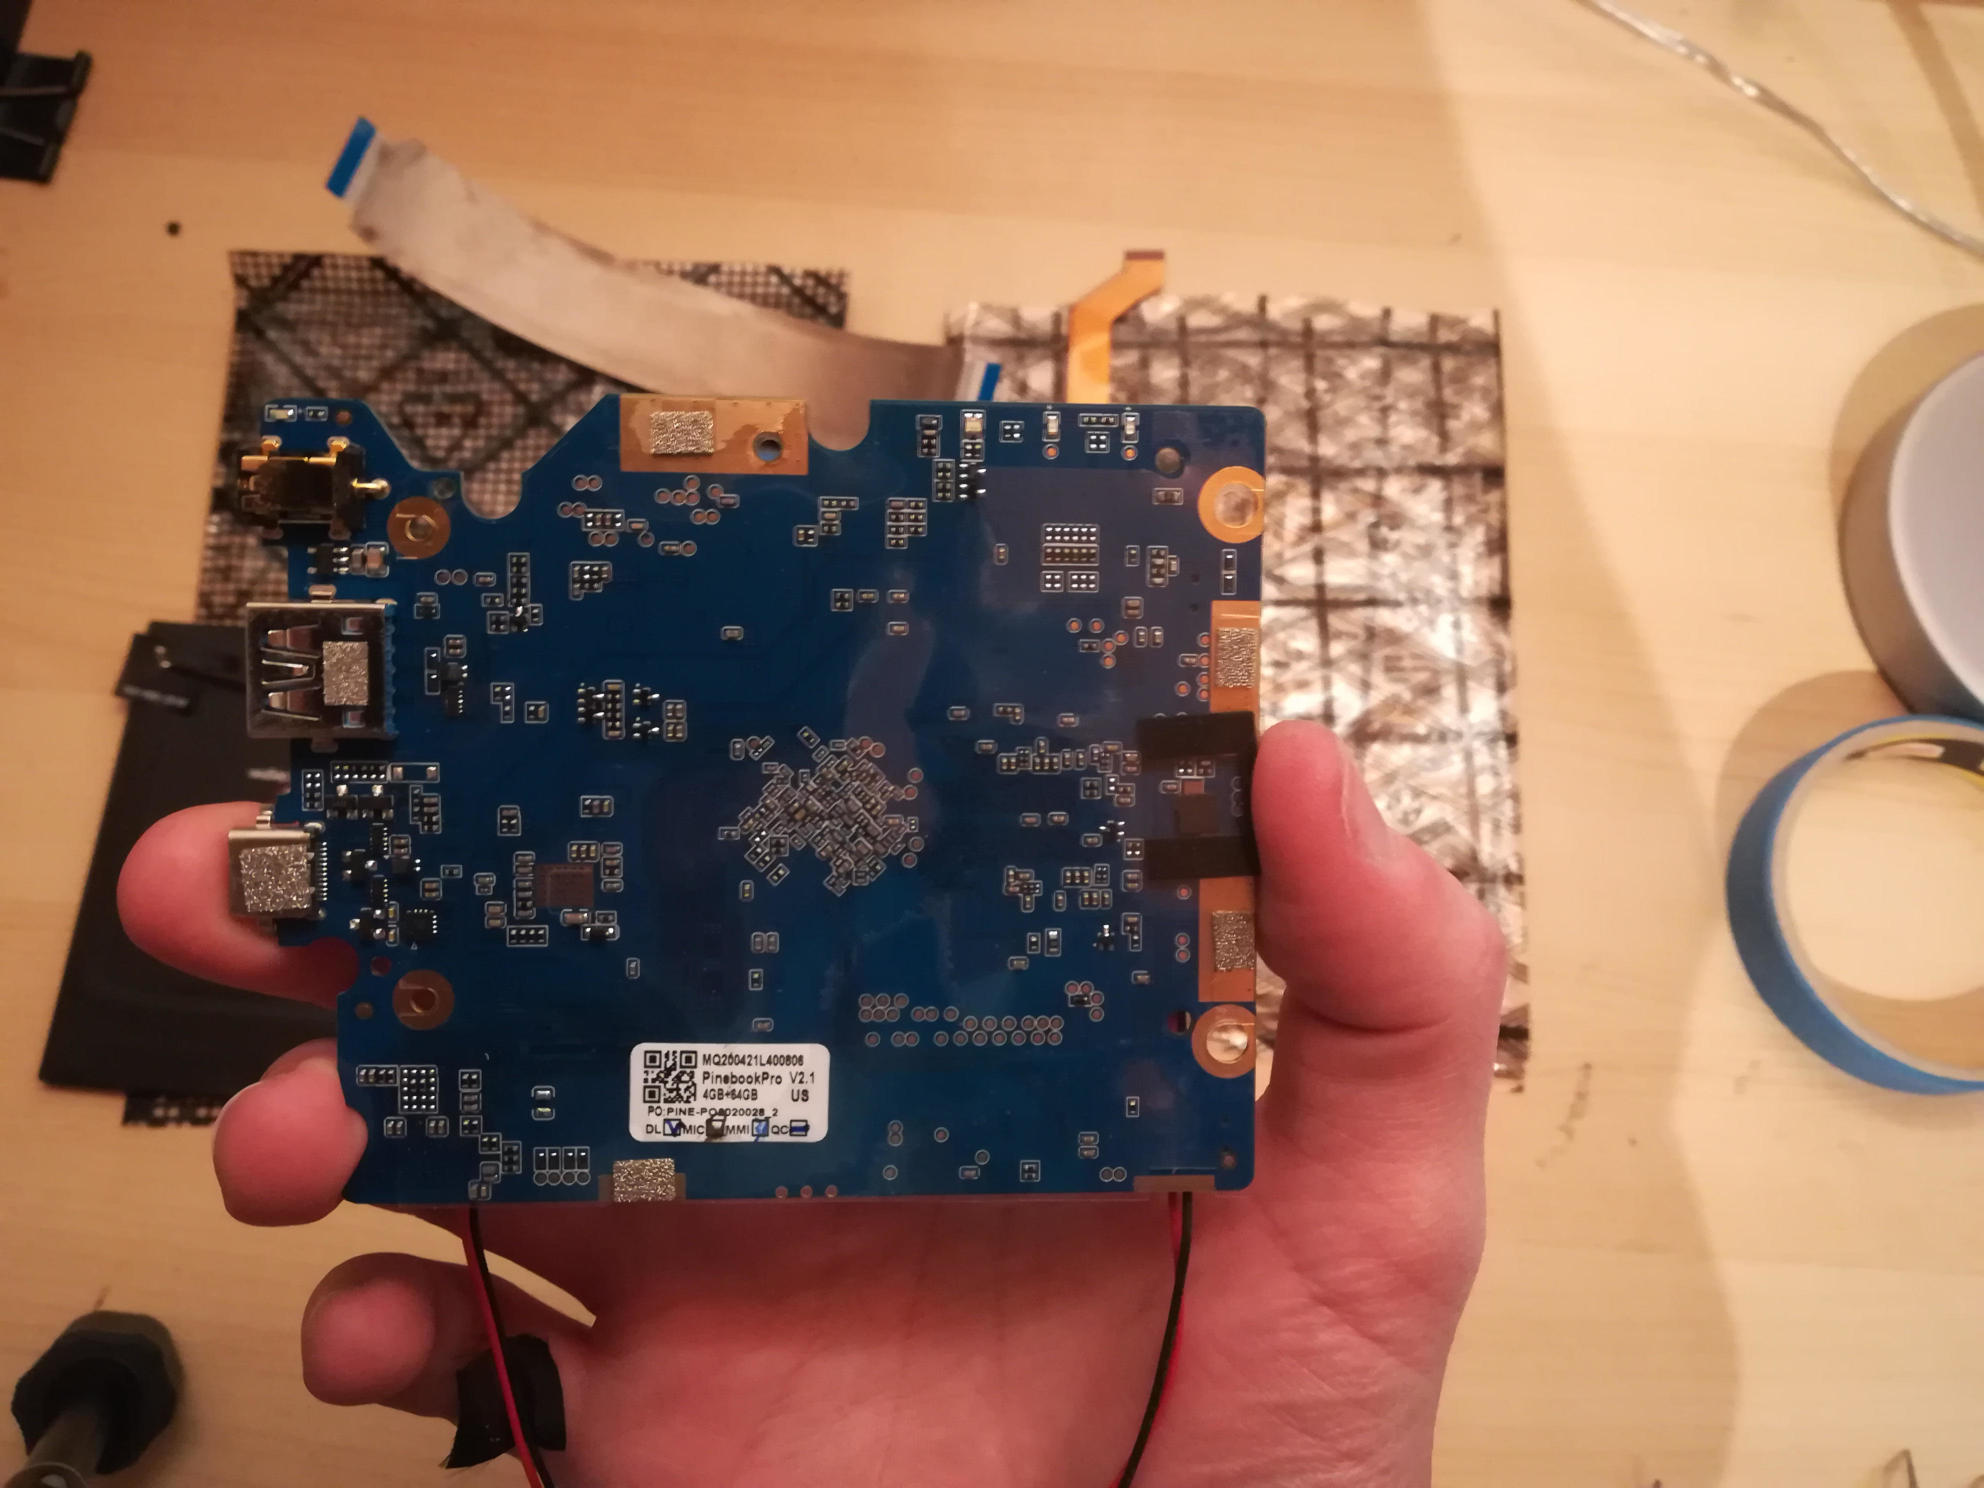
Let’s have a look at the boards
Let’s have a closer look at the CPU board.
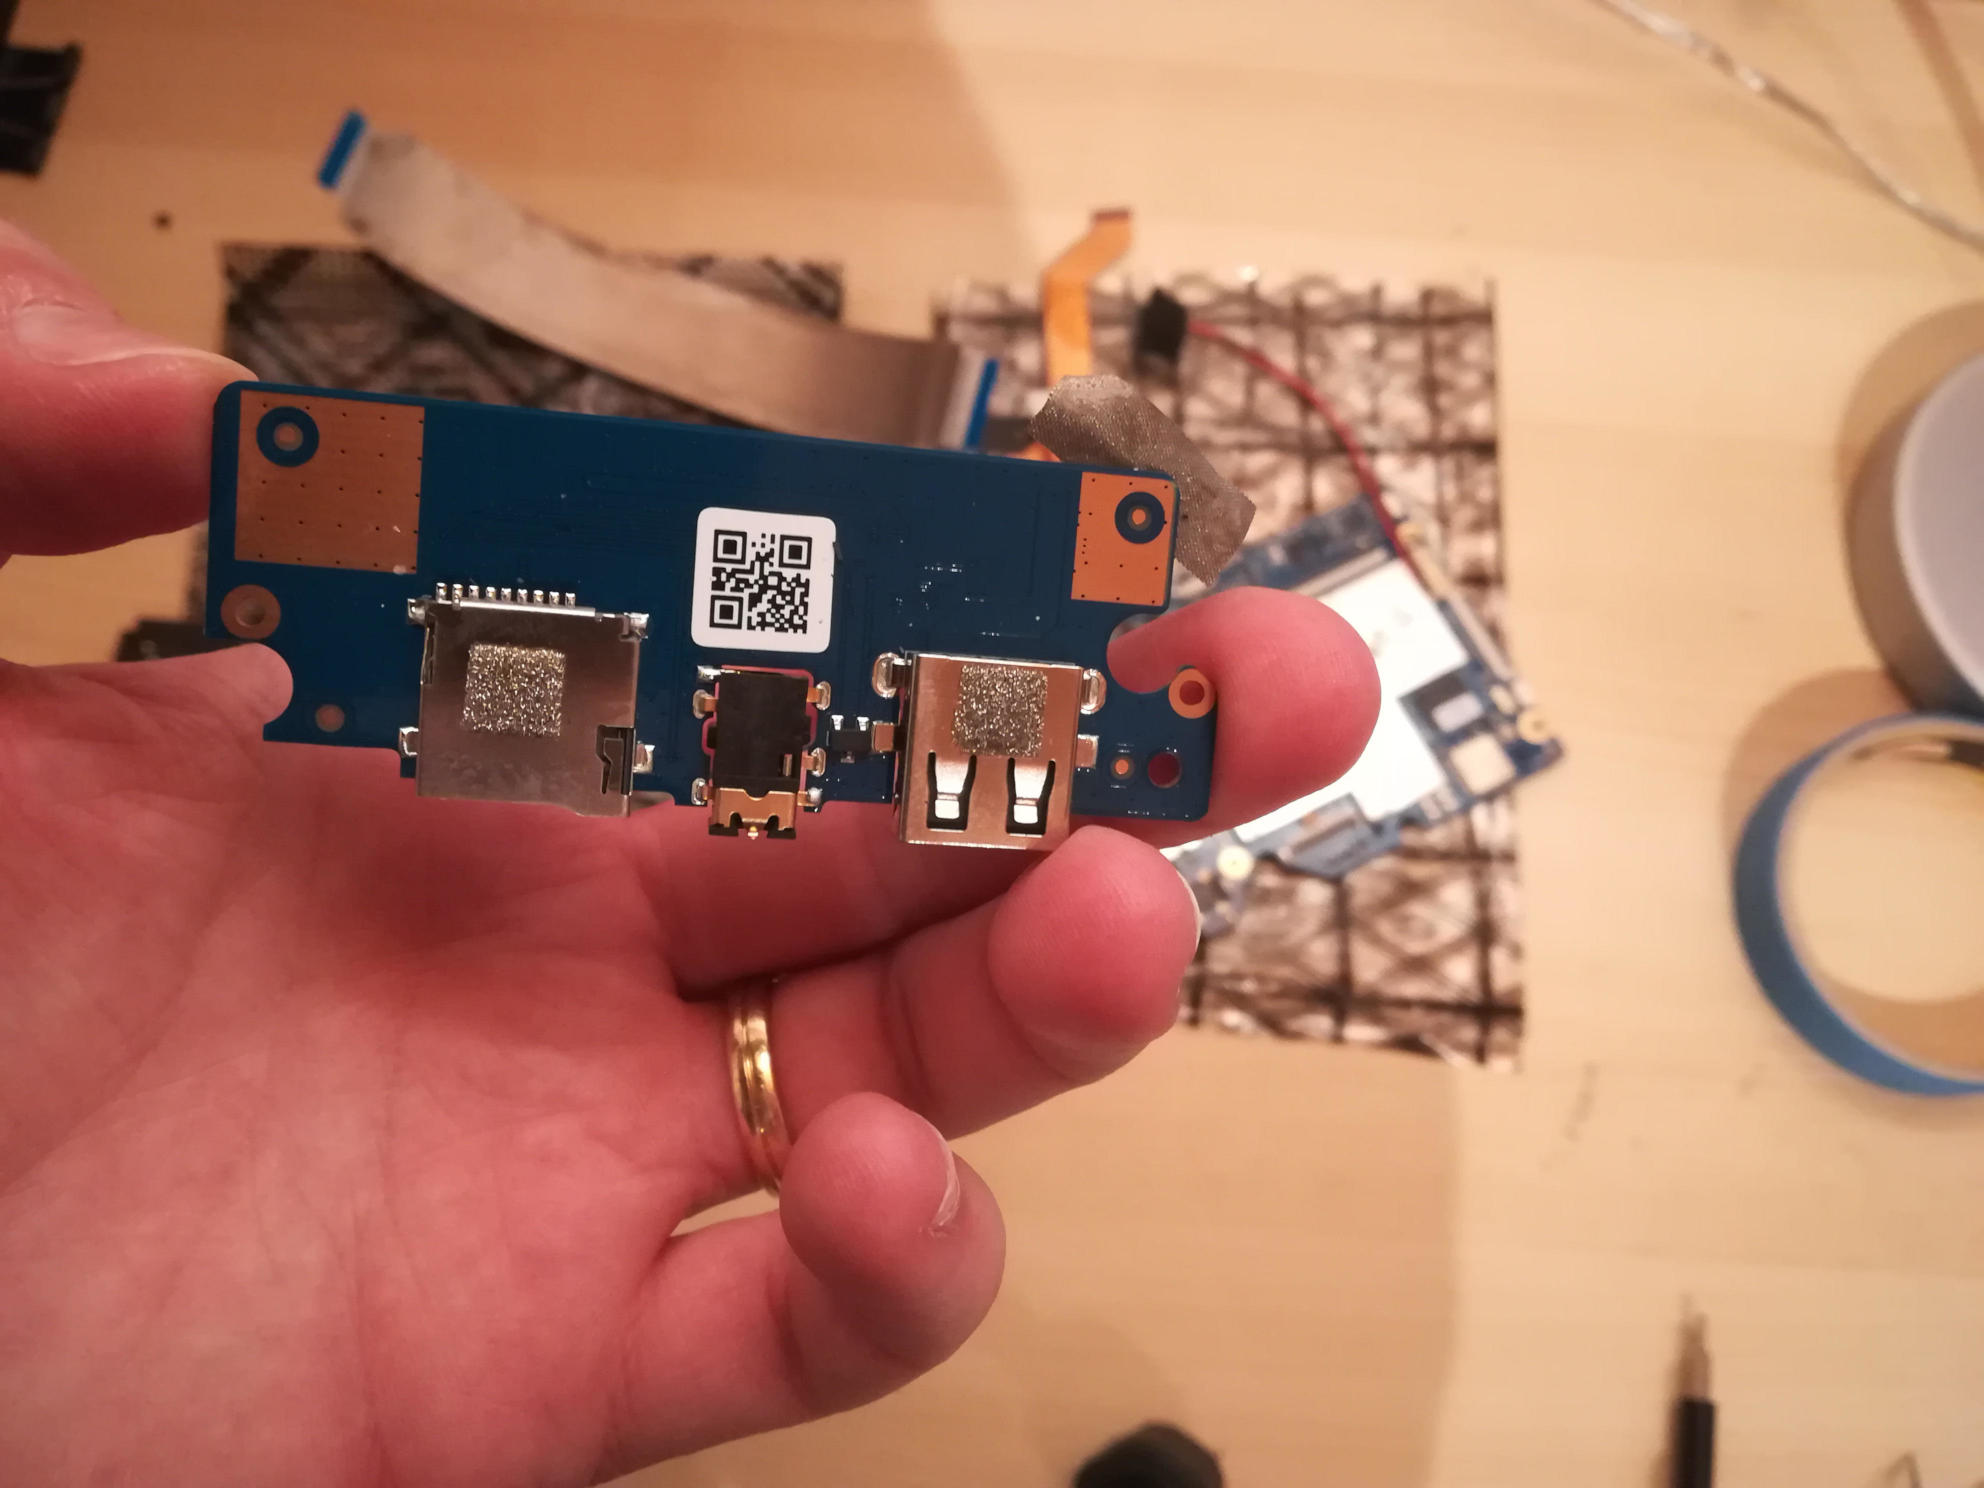
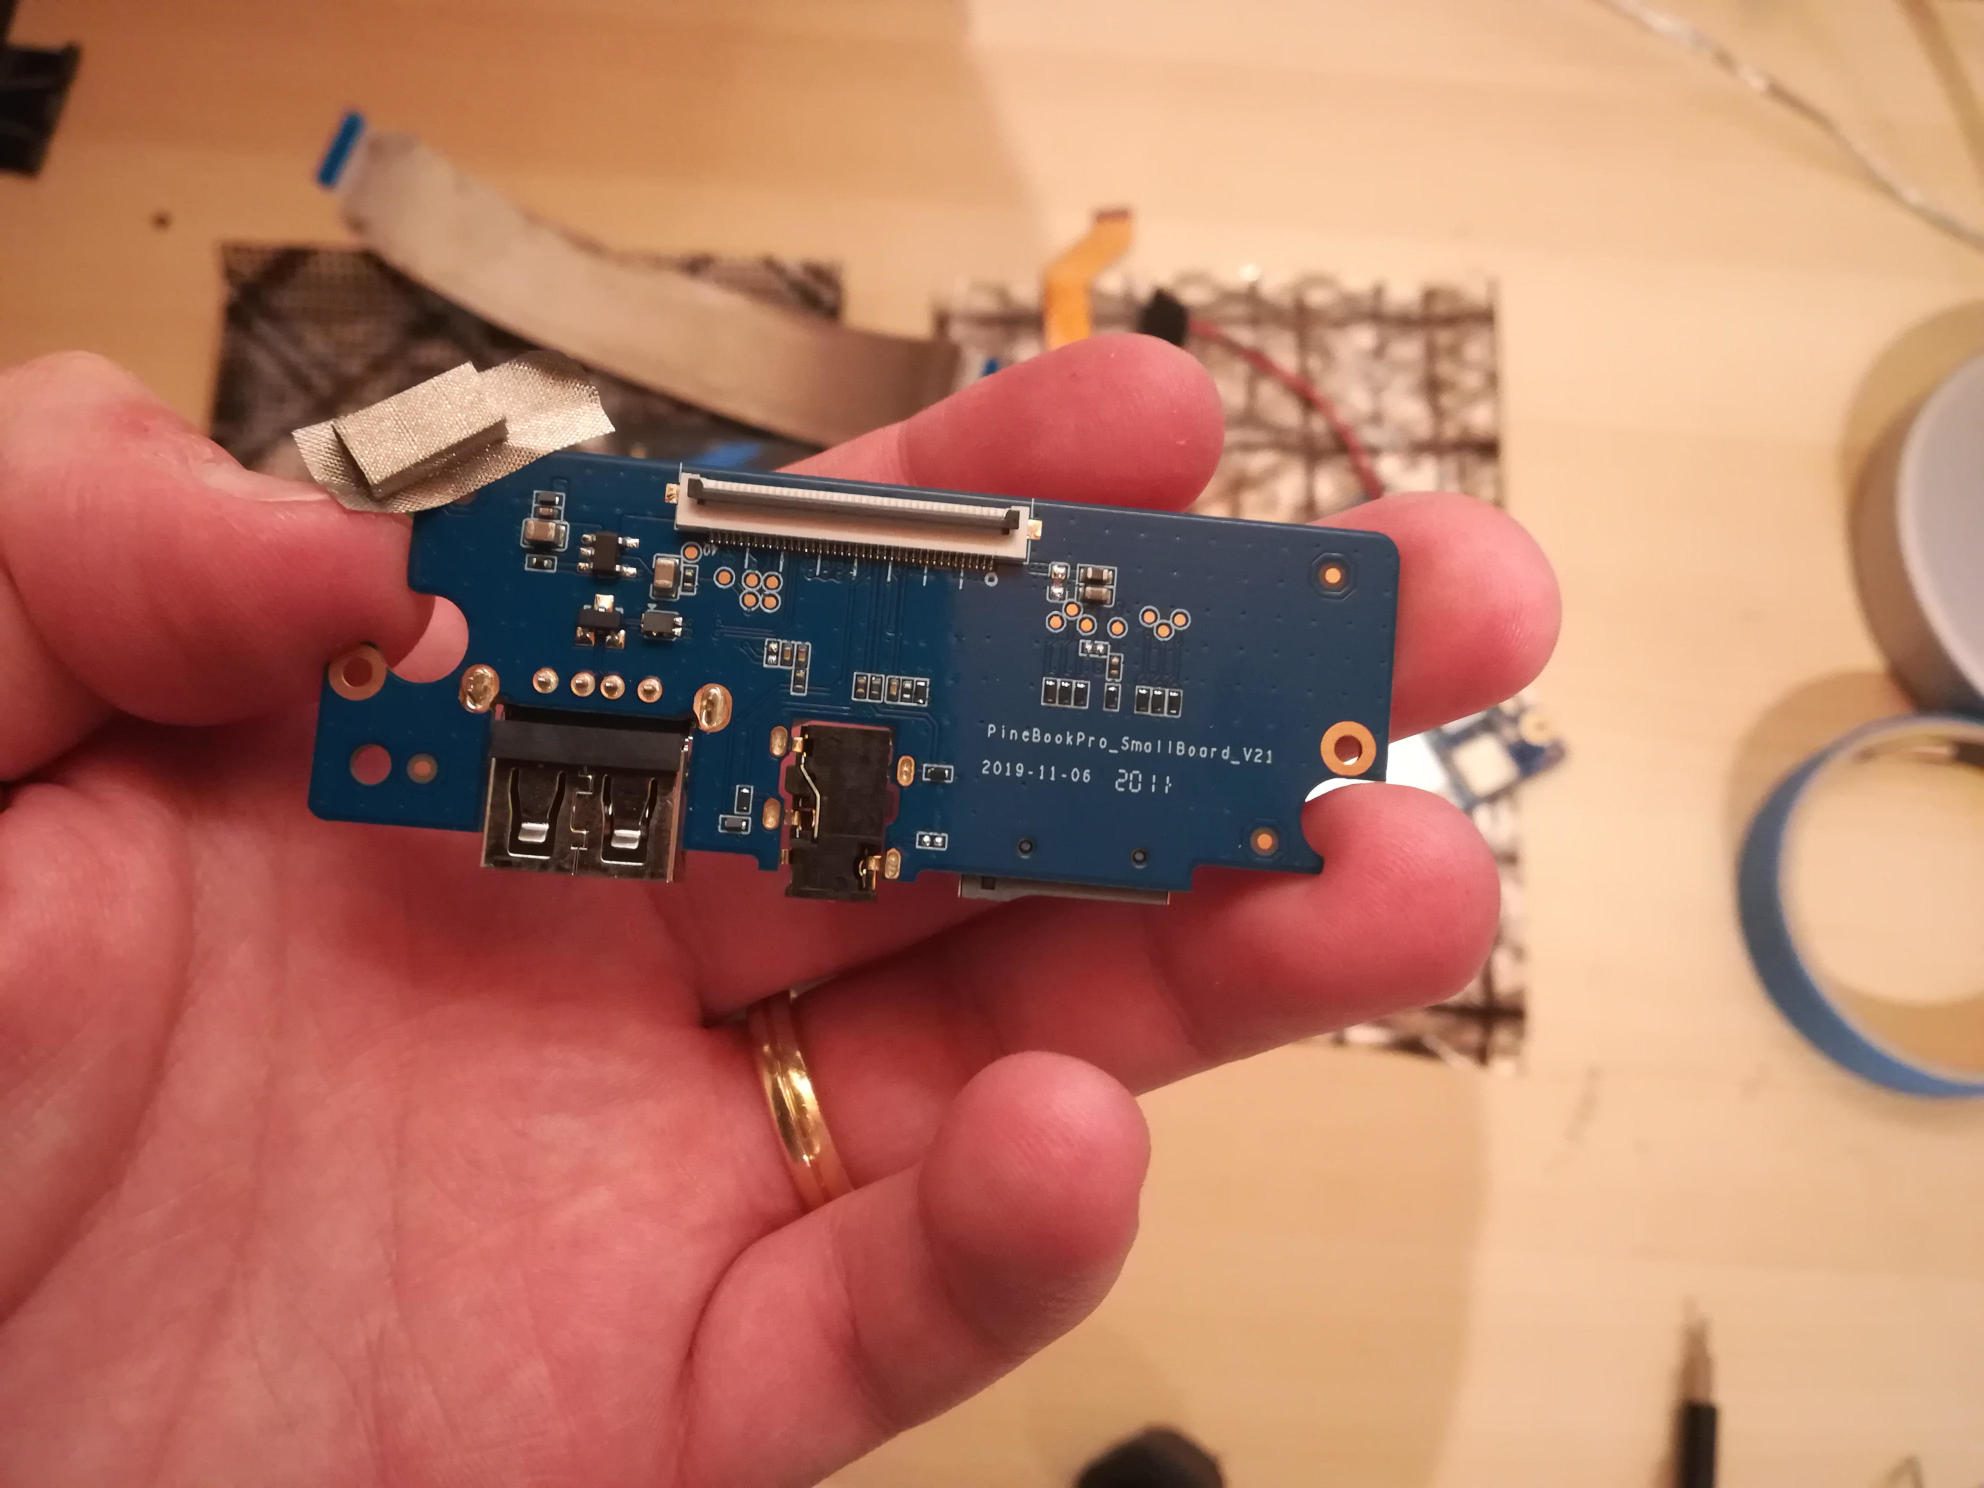
And also at the daughter board.
Reinstall everything
Reinstalling everything in the PineBookPro, on the new keyboard assembly should be quite easy : simply follow the procedure backwards! Pay attention to securely re-attach the wires and flex cables to the assembly using tape (I re-used most of the ones that were already installed).